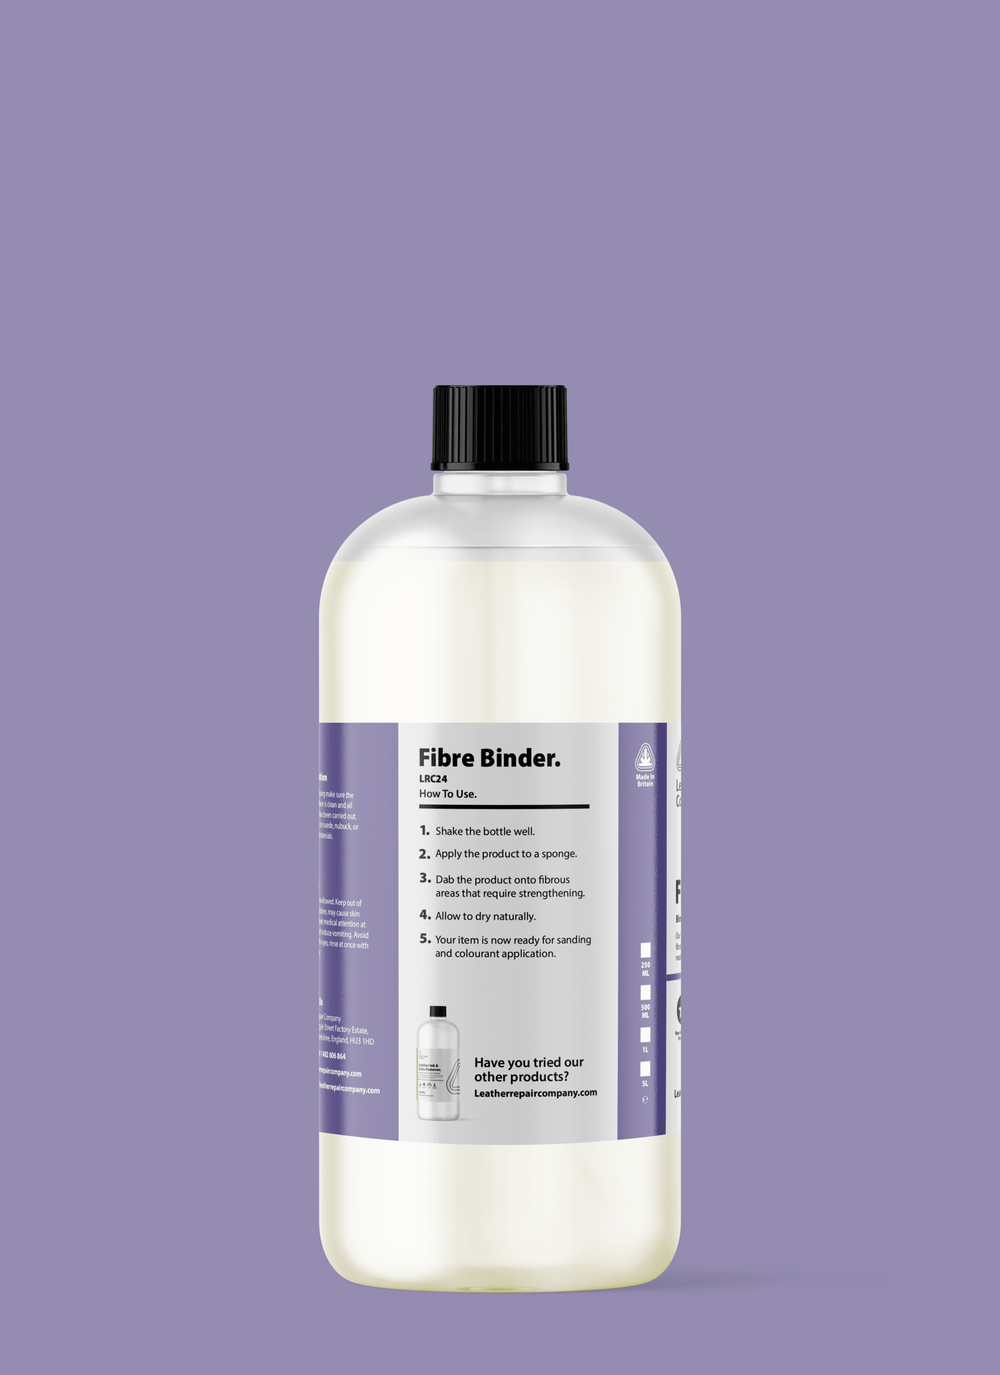
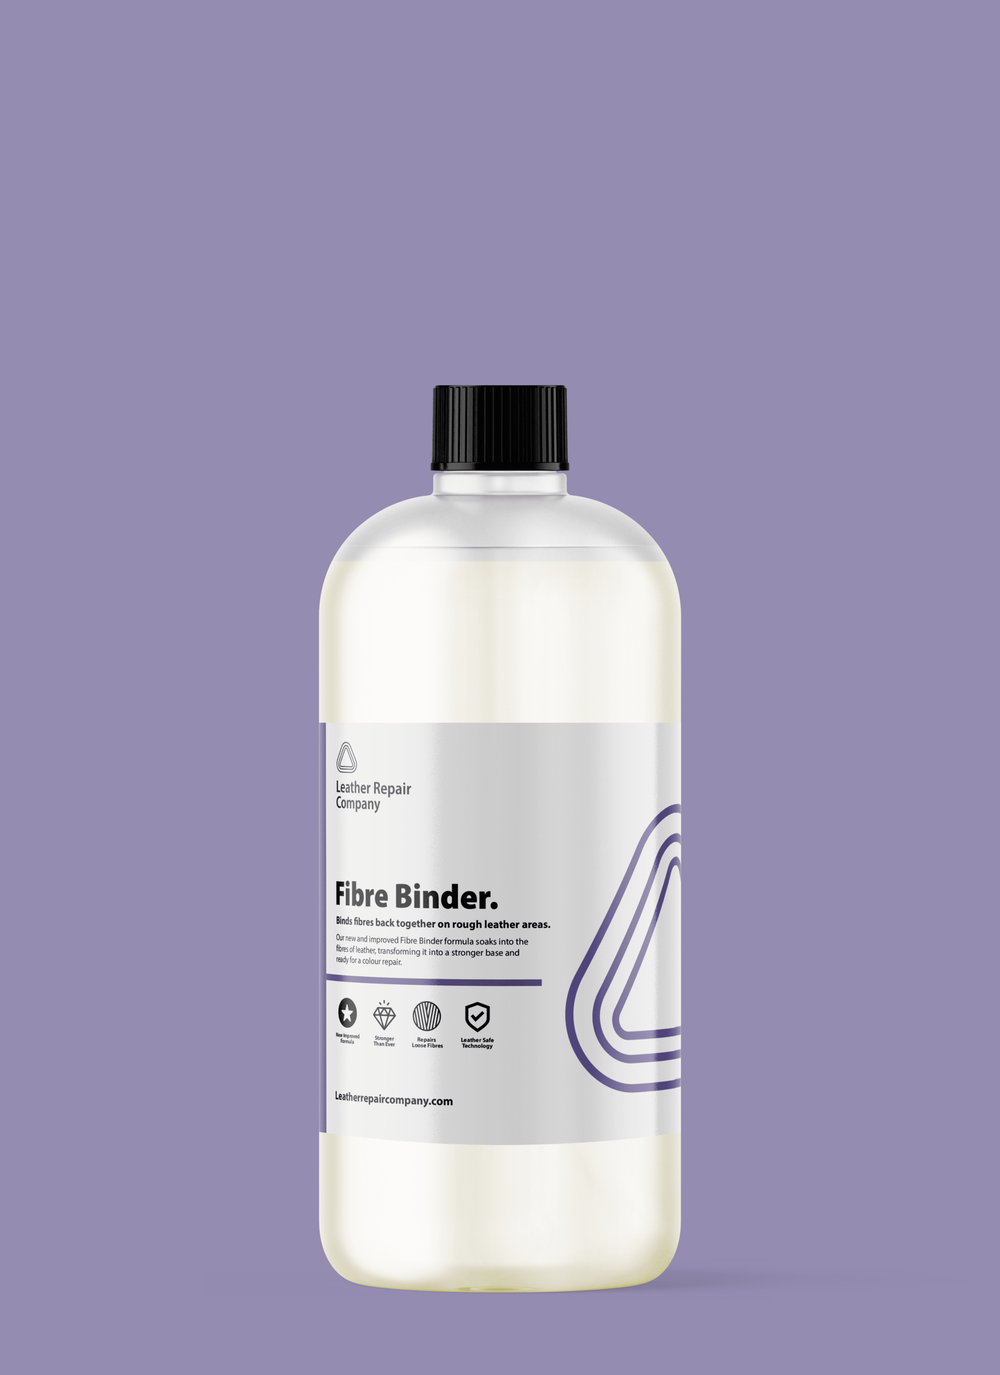
Leather Fibre Binder LRC24
- Eco-Friendly
- Secure Checkout
- Low stock - 4 items left
- Backordered, shipping soon
Leather Fibre Binder LRC24
Binds fibres back together on rough leather areas.
Our new and improved Fibre Binder formula soaks into the fibres of the leather, transforming it into a stronger base and ready for a colour repair.
It dries like a coating and will bind the structure of the leather; making for a stronger base to carry out your repairs.
The Fibre Binder is best used on severely cracked leather where the structure of the leather has degraded so much that there is a chance that any stress on the leather may cause the fibrous structure to pull apart.
You then go over the Fibre Binder with Flexi Filler. To use Fibre Binder, simply apply with a sponge to the affected areas making sure you completely soak the fibres with the binder and allow to dry. It's best to use the Flexi Filler next in this process.
Where leather has degraded so much that you have fibres sticking out of the leather back to a suede effect again, this is where you use Fibre Binder. It’s purpose is to bind all the fibres back to a suitable surface to allow them to be string again for recolouring.
Additional Information
What makes fibre binder so unique is that it soaks in leaving a strong stable material behind, when carting out repairs if you just used either heavy filler or flexi filler this will produce a fantastic repair, but as they are thick pastes they don’t have the ability to soak into the fibres of cracks, scuffing and major wear patches, this is where the fibre leather fibre binder comes in, as applying the either of the other two fillers will leave the surface below weak as the pastes cant soak in, whereas fibre binder soaks into each little fibre making the leather extremely string again just like new, so fillers can be applied to repair the damaged areas fully.
Once all fibres binders have been applied and fillers used you then proceed to colour these areas with a Leather Steering Wheel & Leather Scuff Repair Kit depending how much your colour you could require a bigger kit for the job in that case you will require a leather colour dye repair kit
Instructions
1. Shake bottle well
2. Squeeze the fibre binder onto a sponge
3. Dab onto areas that are fibrous areas that require strengthening.
4. Allow to dry naturally
5. Your item is Now ready for sanding and colourant application
Detailed Explanation
Fibre binder only requires one or two coats to work, the initial coating has to be pushed into the fibres or cracking to ensure it soaks in, making sure you have a generous amount of the leather repair binder on your sponge to do this, then while the surface is still wet apply a second generous coating but this time stipple this on rather than pushing this onto the fibres this will ensure its coating the full area and sealed the surface.
Due to the exposed fibres the liquid leather repair binder will darken the fibres as it soaks in, this is normal shows the binder is working as it should, once this has dried which can be left on its own to dry which may take around 30 minutes or you can use a hair drier and speed up the drying process and this can be dried this way with 5 minutes.
With this type of filler drying is always carried out using a hairdryer, or left to dry at room temperature, as it air cures its best to keep the lids closed at all times to avoid this liquid leather binder filler from drying up.
Once the filler is full cured and the exposed leather fibres are bonded back together again the area can be sanded using a 280-grit foam sanding pad, foam sanding pads are far safer for leather compared to general sandpaper.
When you sand over wipe the area down carefully with a terry towel cloth with a small amount of alcohol cleaner on it to wipe away any dust from sanding, once this has been done, you then start to use the filler required either the Heavy Filler or the Flexi Filler compounds. Then colour as normal.
Cannot be grained with a grain matt or heat cured with a heat iron.
The thicker you apply the longer it will take to dry, but if applied thinly then drying times are around five to ten minutes.


